Host Management
Overview
Hosts are the servers the platform can operate. Spug logs in over SSH with a key pair and never installs an agent. Hosts are organized in groups and are the foundation of batch execution, file distribution, deployments, pipelines, scheduled tasks and monitoring.
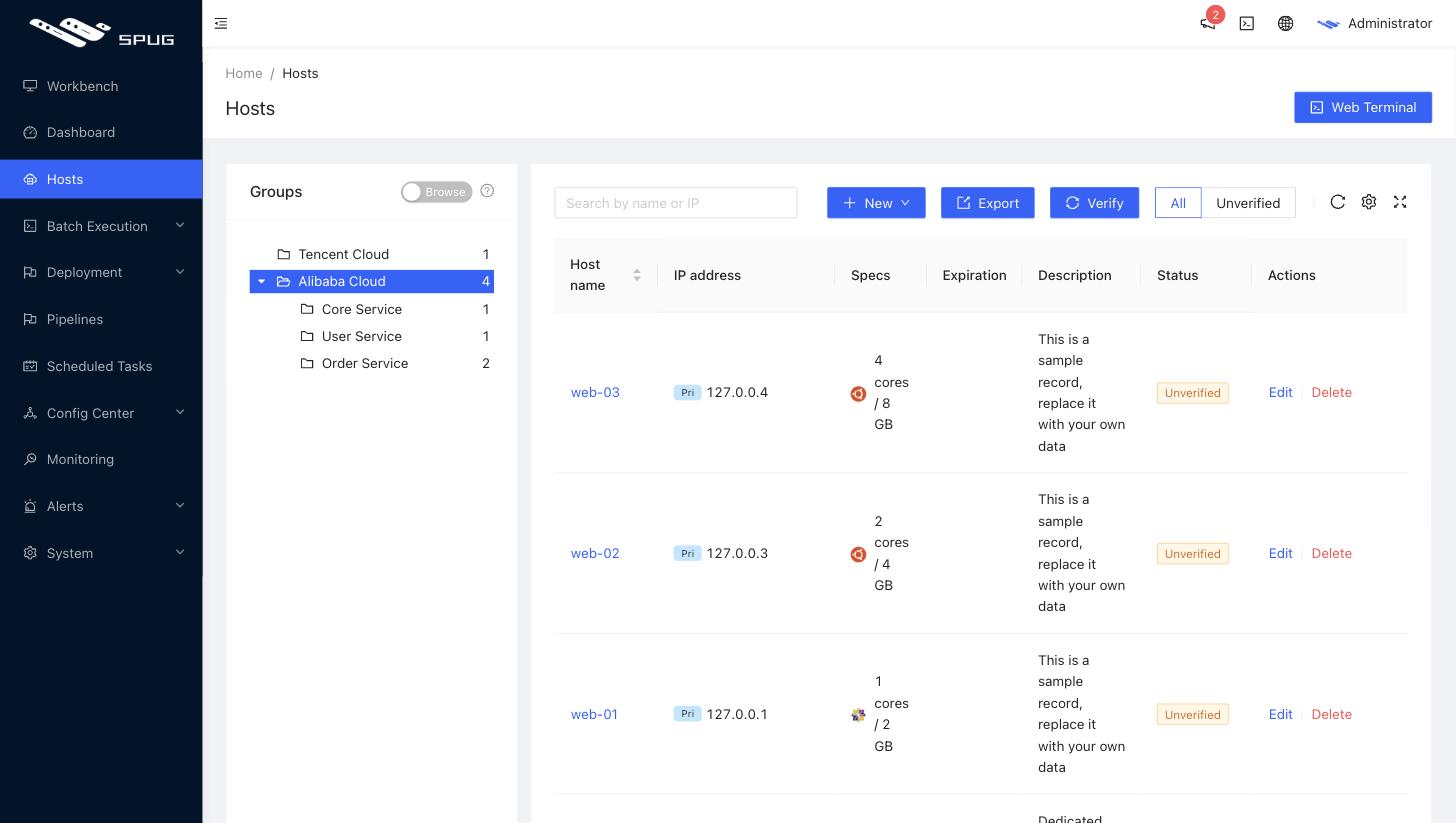
Groups
The group tree is on the left. Groups can be nested; right-click a group to add a root group / add a sub-group / rename / add hosts / move hosts / remove hosts / delete the group. Administrators can switch the toggle in the top-right corner of the tree from Browse to Arrange to reorder groups by dragging. A host can belong to several groups, and host permissions are granted per group (see Roles).
The search box matches host names and public / private IP addresses; groups without a match are hidden from the tree, and the list shows the matching hosts of the selected group.
Adding hosts
Click New to open the menu with four ways of adding hosts.
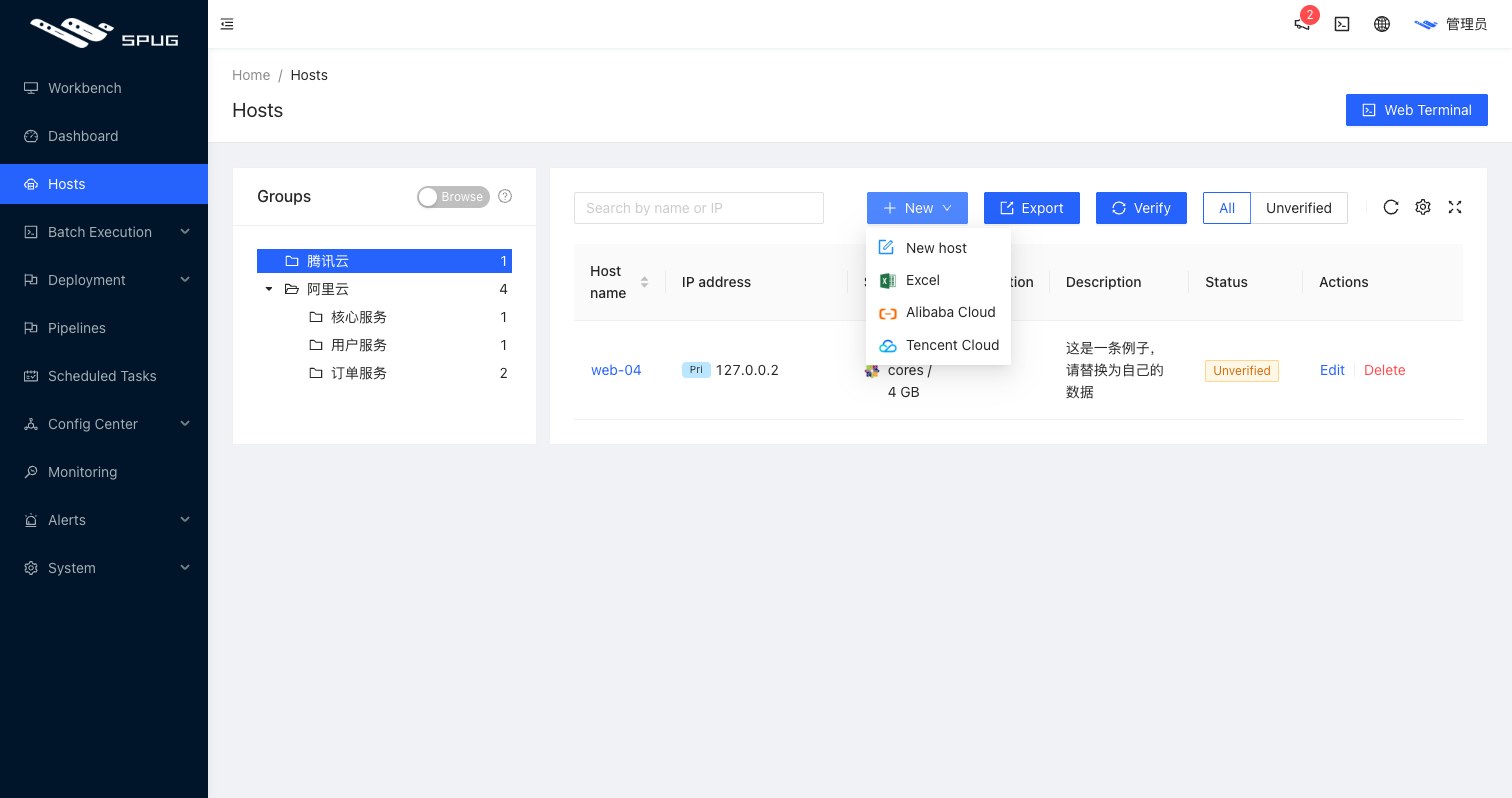
Manually
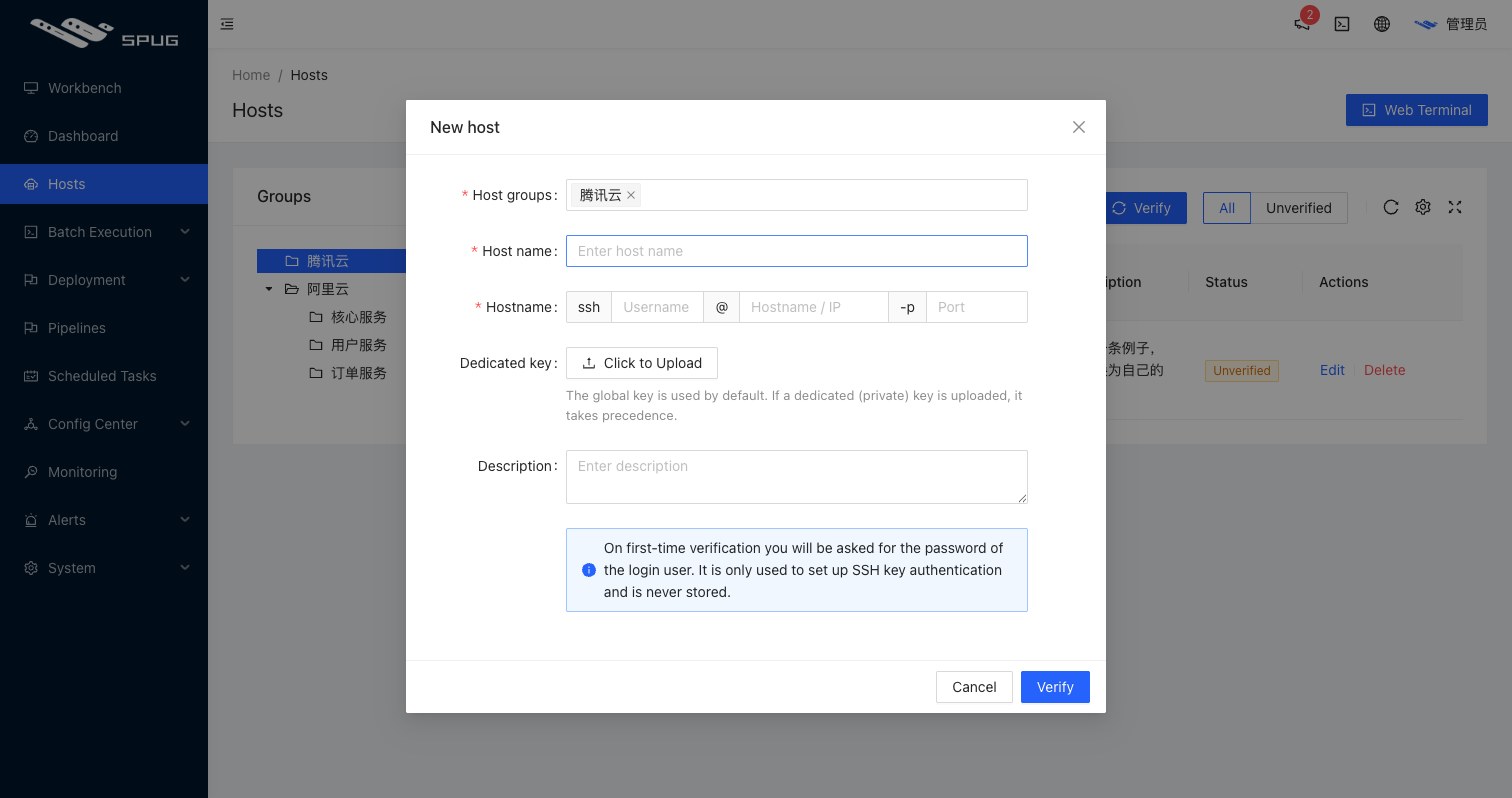
- Host group: one or more groups the host belongs to.
- Host name: a recognizable, globally unique name.
- Connection: SSH user, IP address / domain and port.
- Private key: the global key (
System / Settings / SSH Key Settings) is used by default; a private key uploaded here takes precedence, which helps for hosts that cannot share the global key. - Description: optional.
Click Verify. If key authentication fails, a password prompt appears; enter the user's password once to complete the first verification. The password is only used for this verification and is not stored; see the verification principle below.
Import from Excel
Choose Excel, download the template, fill in host name, SSH address, SSH port, SSH user, SSH password (optional, only for the first verification) and description, then upload it. The result of every row is shown after the import, and the Verify and sync step starts automatically, using the SSH passwords from the template to set up the keys and sync the extended host information.
Import from a cloud provider
Choose Alibaba Cloud or Tencent Cloud, enter the AccessKey ID and AccessKey Secret of the cloud account (read-only ECS / CVM permission is enough; the key is used for this query only and is not stored), pick a region and a target group, and fill in a common SSH user and port. Spug lists the instances of that region and imports them; run Verify afterwards to complete key authentication.
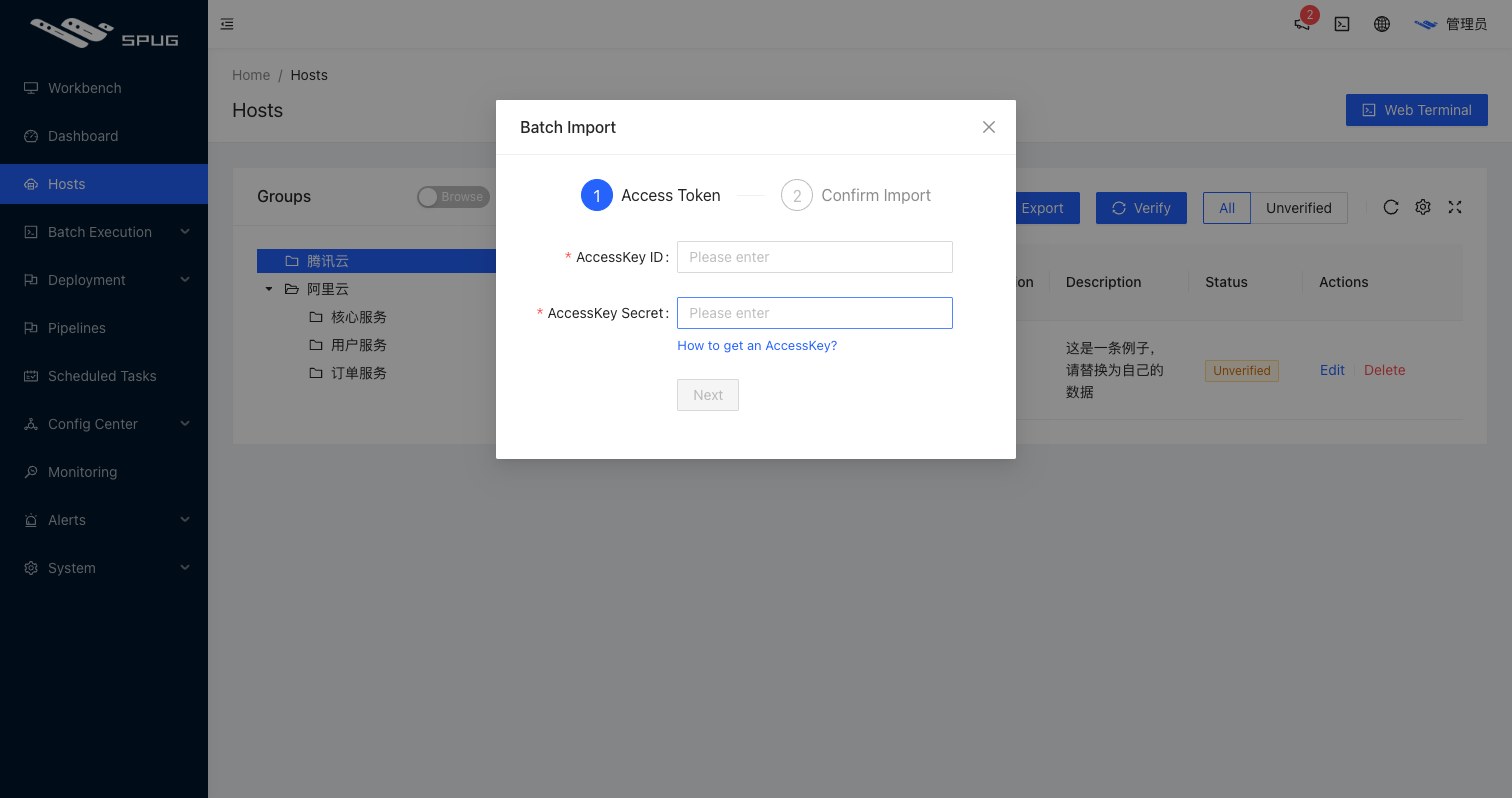
Batch verify and sync
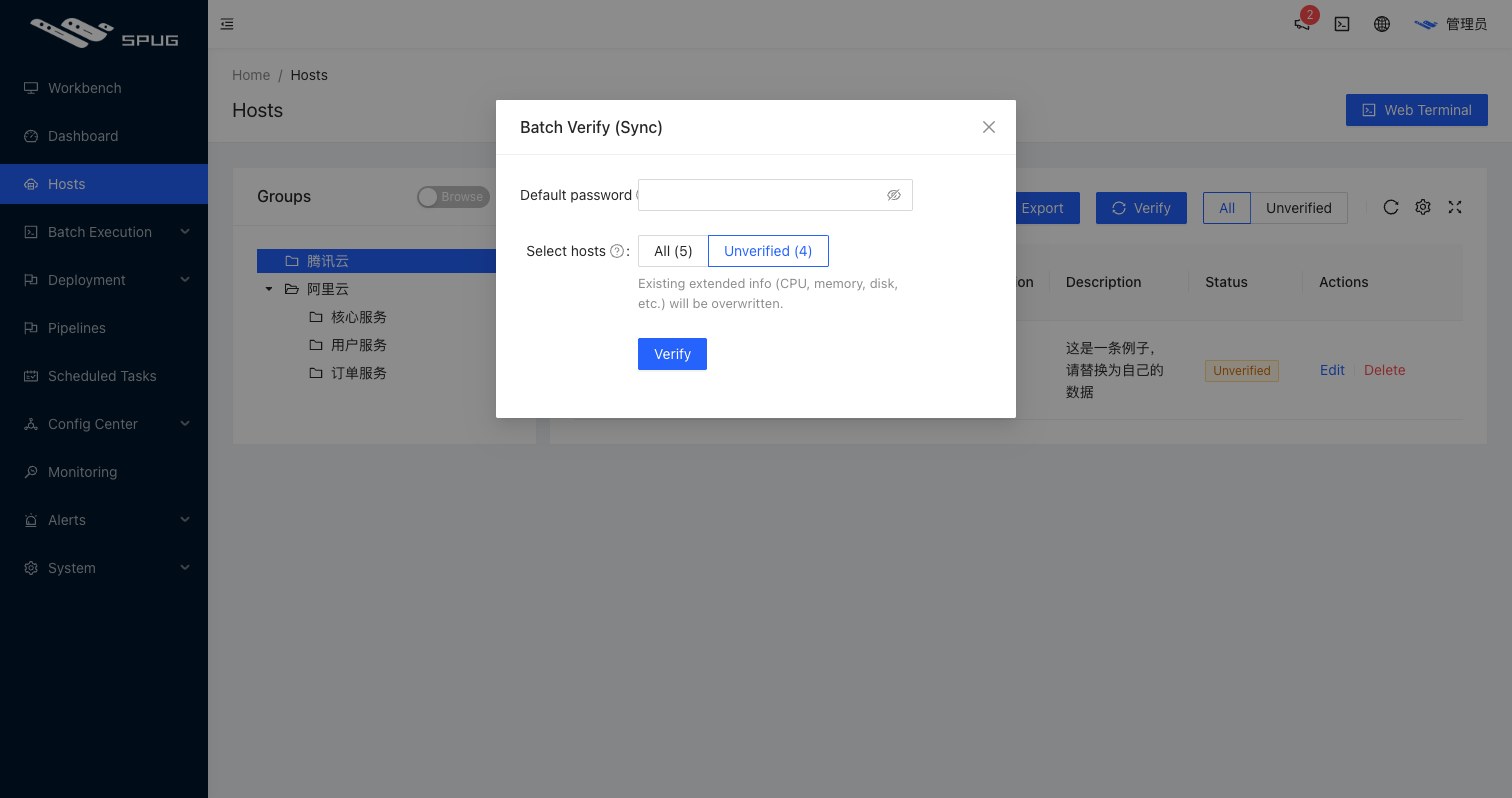
The Verify button above the list verifies all hosts or unverified hosts only in one go; a default password can be supplied for the first authentication of unverified hosts. After verification the host details (CPU, memory, disks, operating system, private / public IPs) are synced and overwrite the existing details.
Host details
Click a host name to see its connection information and synced details. Hosts imported from a cloud provider also show the instance ID, billing modes and creation / expiry time; the expiry is highlighted in the Expiry column of the list. Click Sync in the details to refresh the information.
Export
Export downloads the hosts you are allowed to see as an Excel file whose first six columns (host name, SSH address, SSH port, SSH user, SSH password, description) match the import template, followed by the synced details (instance ID, OS, CPU, memory, disk, private / public IP, billing, creation and expiry time); handy for backups or migrations.
Verification principle
When a host is added, Spug first tries to connect with its key. There are three possible outcomes:
- The host does not support key authentication: an exception with error code
E01is raised and the request stops. - Key authentication succeeds: the host is added and the process ends.
- Key authentication fails: a password prompt appears so that key authentication can be set up (if the host does not support password authentication either, error code
E00is raised and the request stops).
In the third case Spug connects with the password and runs the following commands to install its public key:
mkdir -p -m 700 ~/.ssh
echo 'public key content ....' >> ~/.ssh/authorized_keys
chmod 600 ~/.ssh/authorized_keys
It then connects with the key again, with two possible outcomes:
- Authentication fails: error code
E02is raised and the request stops. - Authentication succeeds: the host is added.
Spug supports RSA, Ed25519, ECDSA and DSA keys (a 2048-bit RSA key is generated when none is uploaded). The default shell of a managed host can be bash, zsh or sh (dash / ash), and Windows hosts running OpenSSH Server can be added and used for commands as well.
Error codes
E00: the host does not allow password authentication. Check/etc/ssh/sshd_configon the host and make surePasswordAuthentication yesis set.E01: the host does not allow key authentication. Check/etc/ssh/sshd_configon the host and make surePubkeyAuthentication yesis set.E02: the key still does not work afterSpuginstalled it. Check the following:- the user's home directory, e.g.
/root, has mode 700 ~/.sshhas mode 700 and the files inside have mode 600- the owner and group of these files is the user itself
- the SSH log, e.g.
/var/log/secureon CentOS or/var/log/auth.logon Ubuntu - set up key authentication by hand, and add the host again once that works
- if nothing helps, please report the problem to us
- the user's home directory, e.g.